After deciding that I would fit the ‘Cougar’ HOTAS to the Skyhawk it was time to actually do it… *and* to repair the broken gimbal arm.
First up was making sure the mounting concept was going to actually work. I borrowed Richards Warthog, with 150mm extension, and confirmed that it would all work where I had imagined. Interestingly the height I had ended up at almost exactly the same height as the Warthog on its base for Rich’s A-10C.
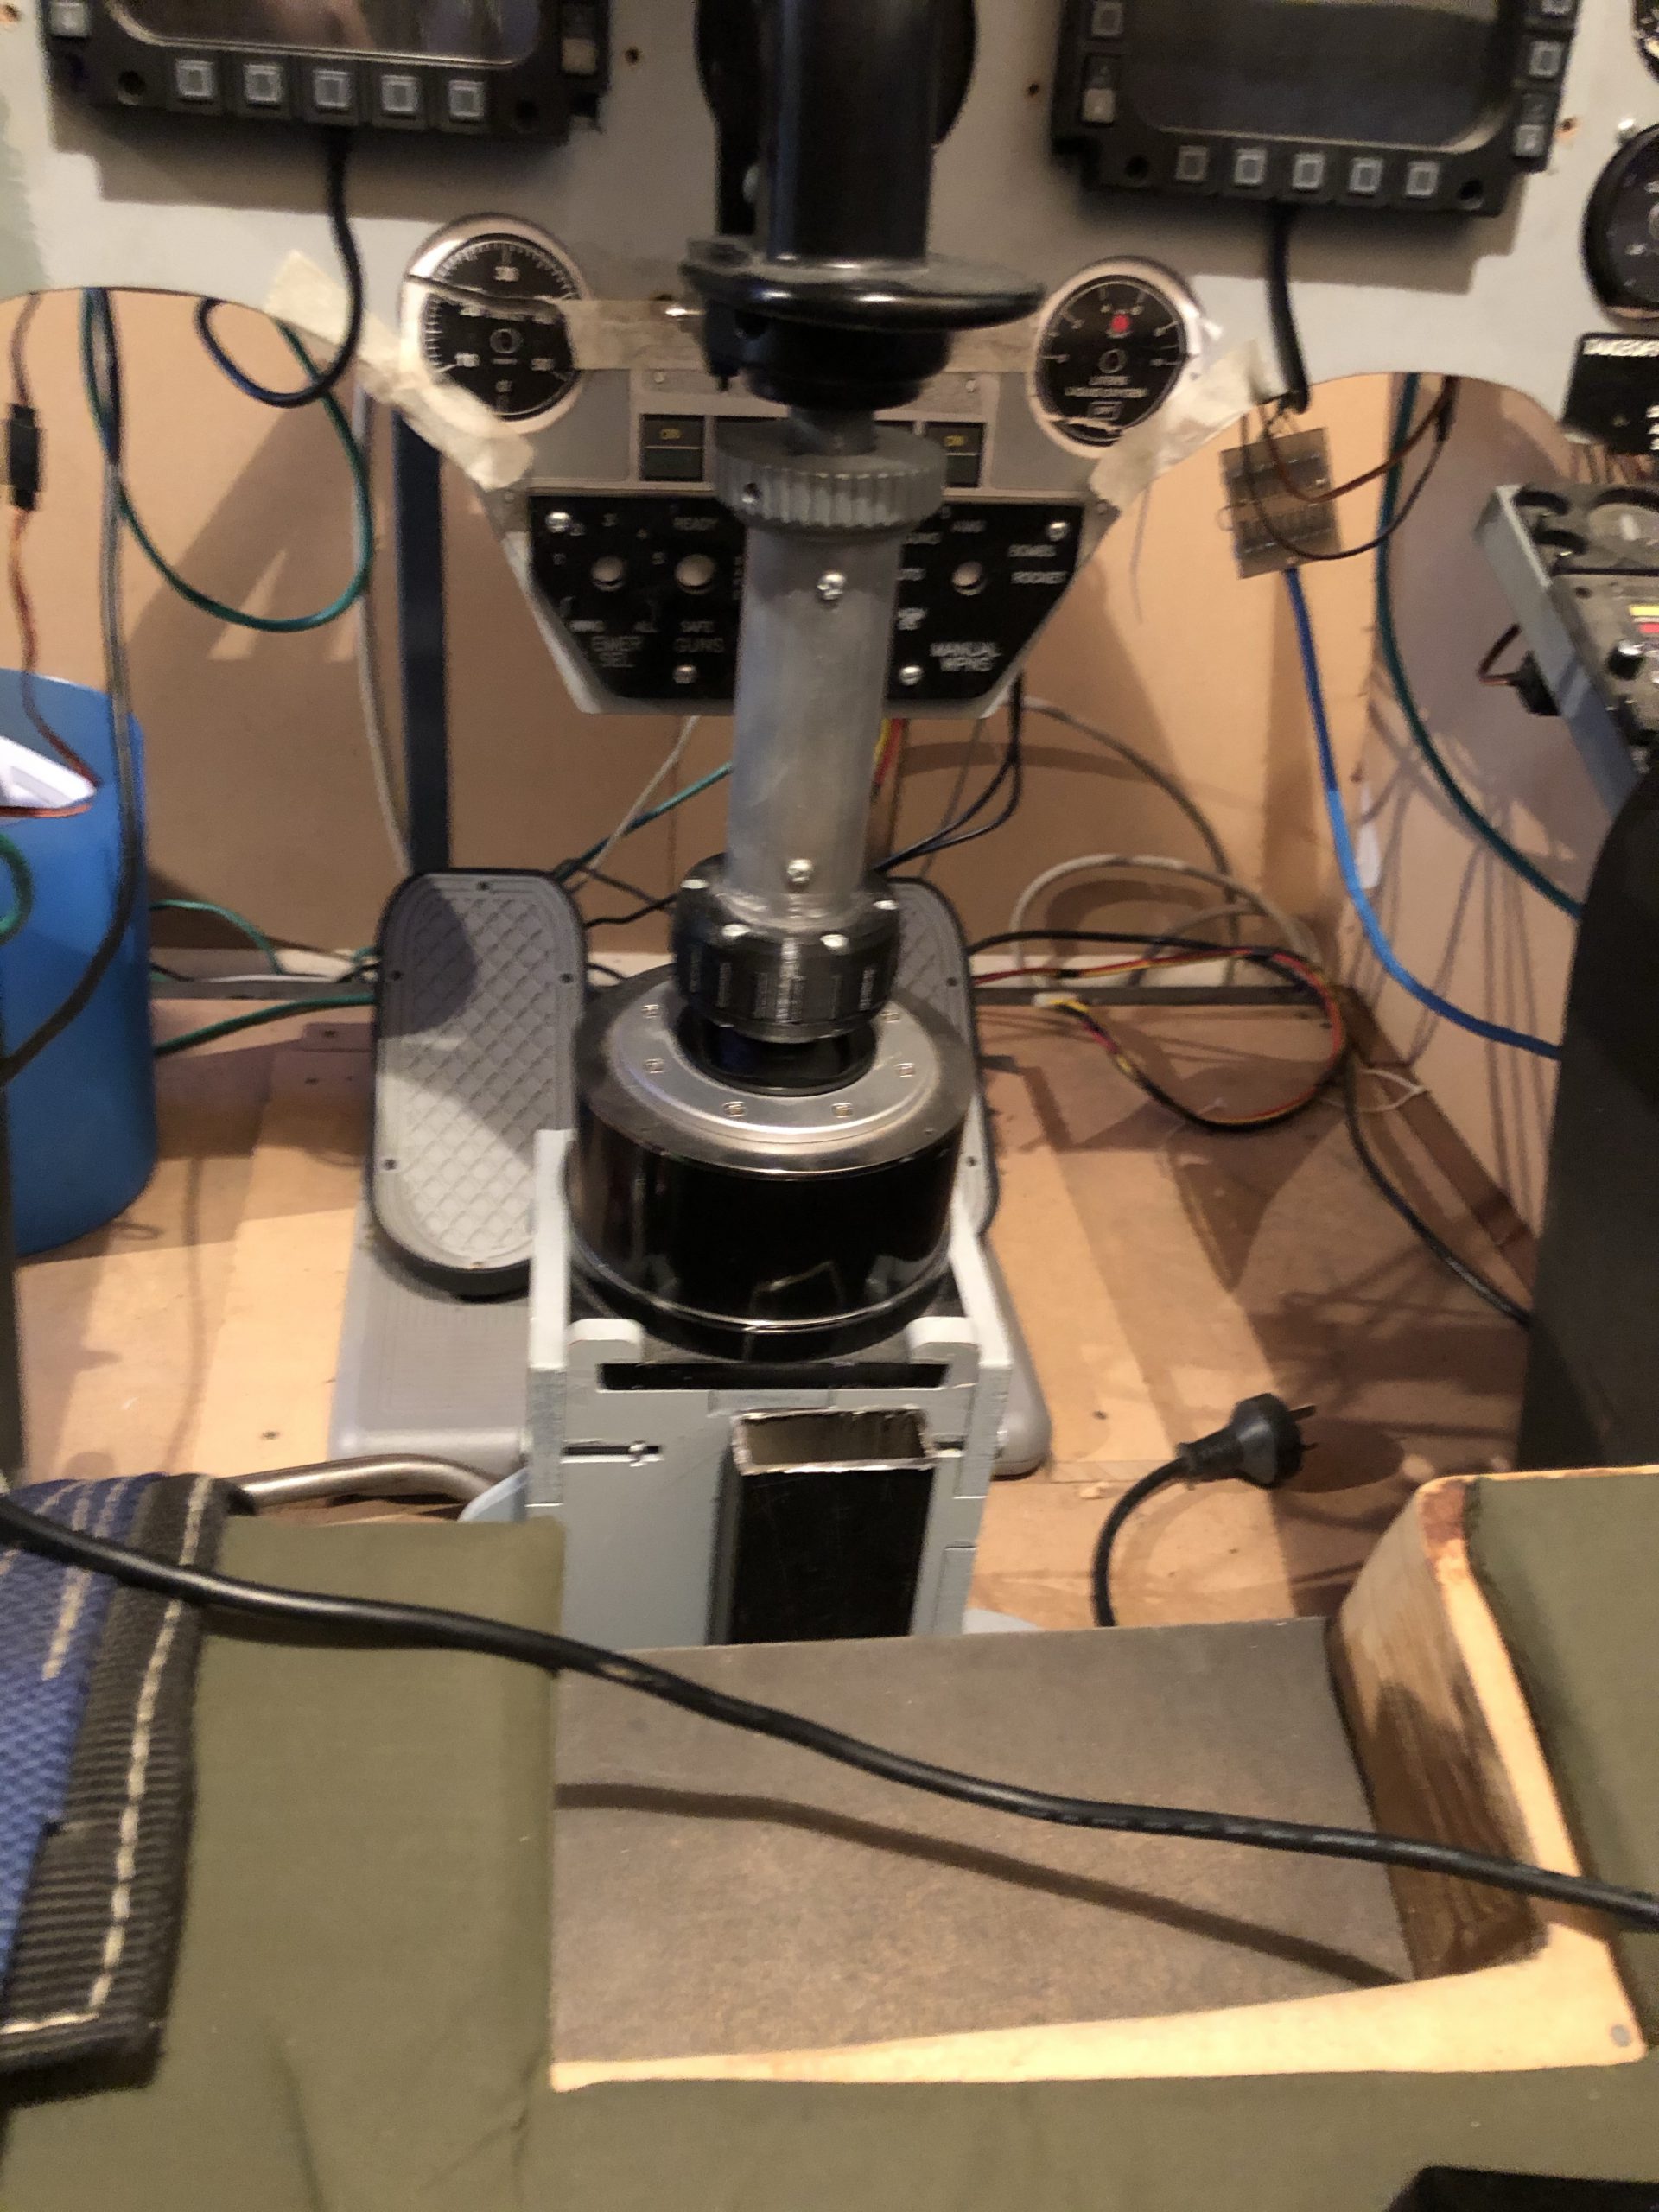 The height I had calculated is shown by the cut on the 50×25 steel box section
After confirming the height and location I fabricated a mount which sits on to of the steel box section (which was trimmed down by the thickness of the MDF mount) and is also secured to the front of the ejection seat. For now the stick base is only sitting in place, once the position is finalised I will secure it properly.
The mounting is not elegant, but it is solid, and should let me get flying again soon.
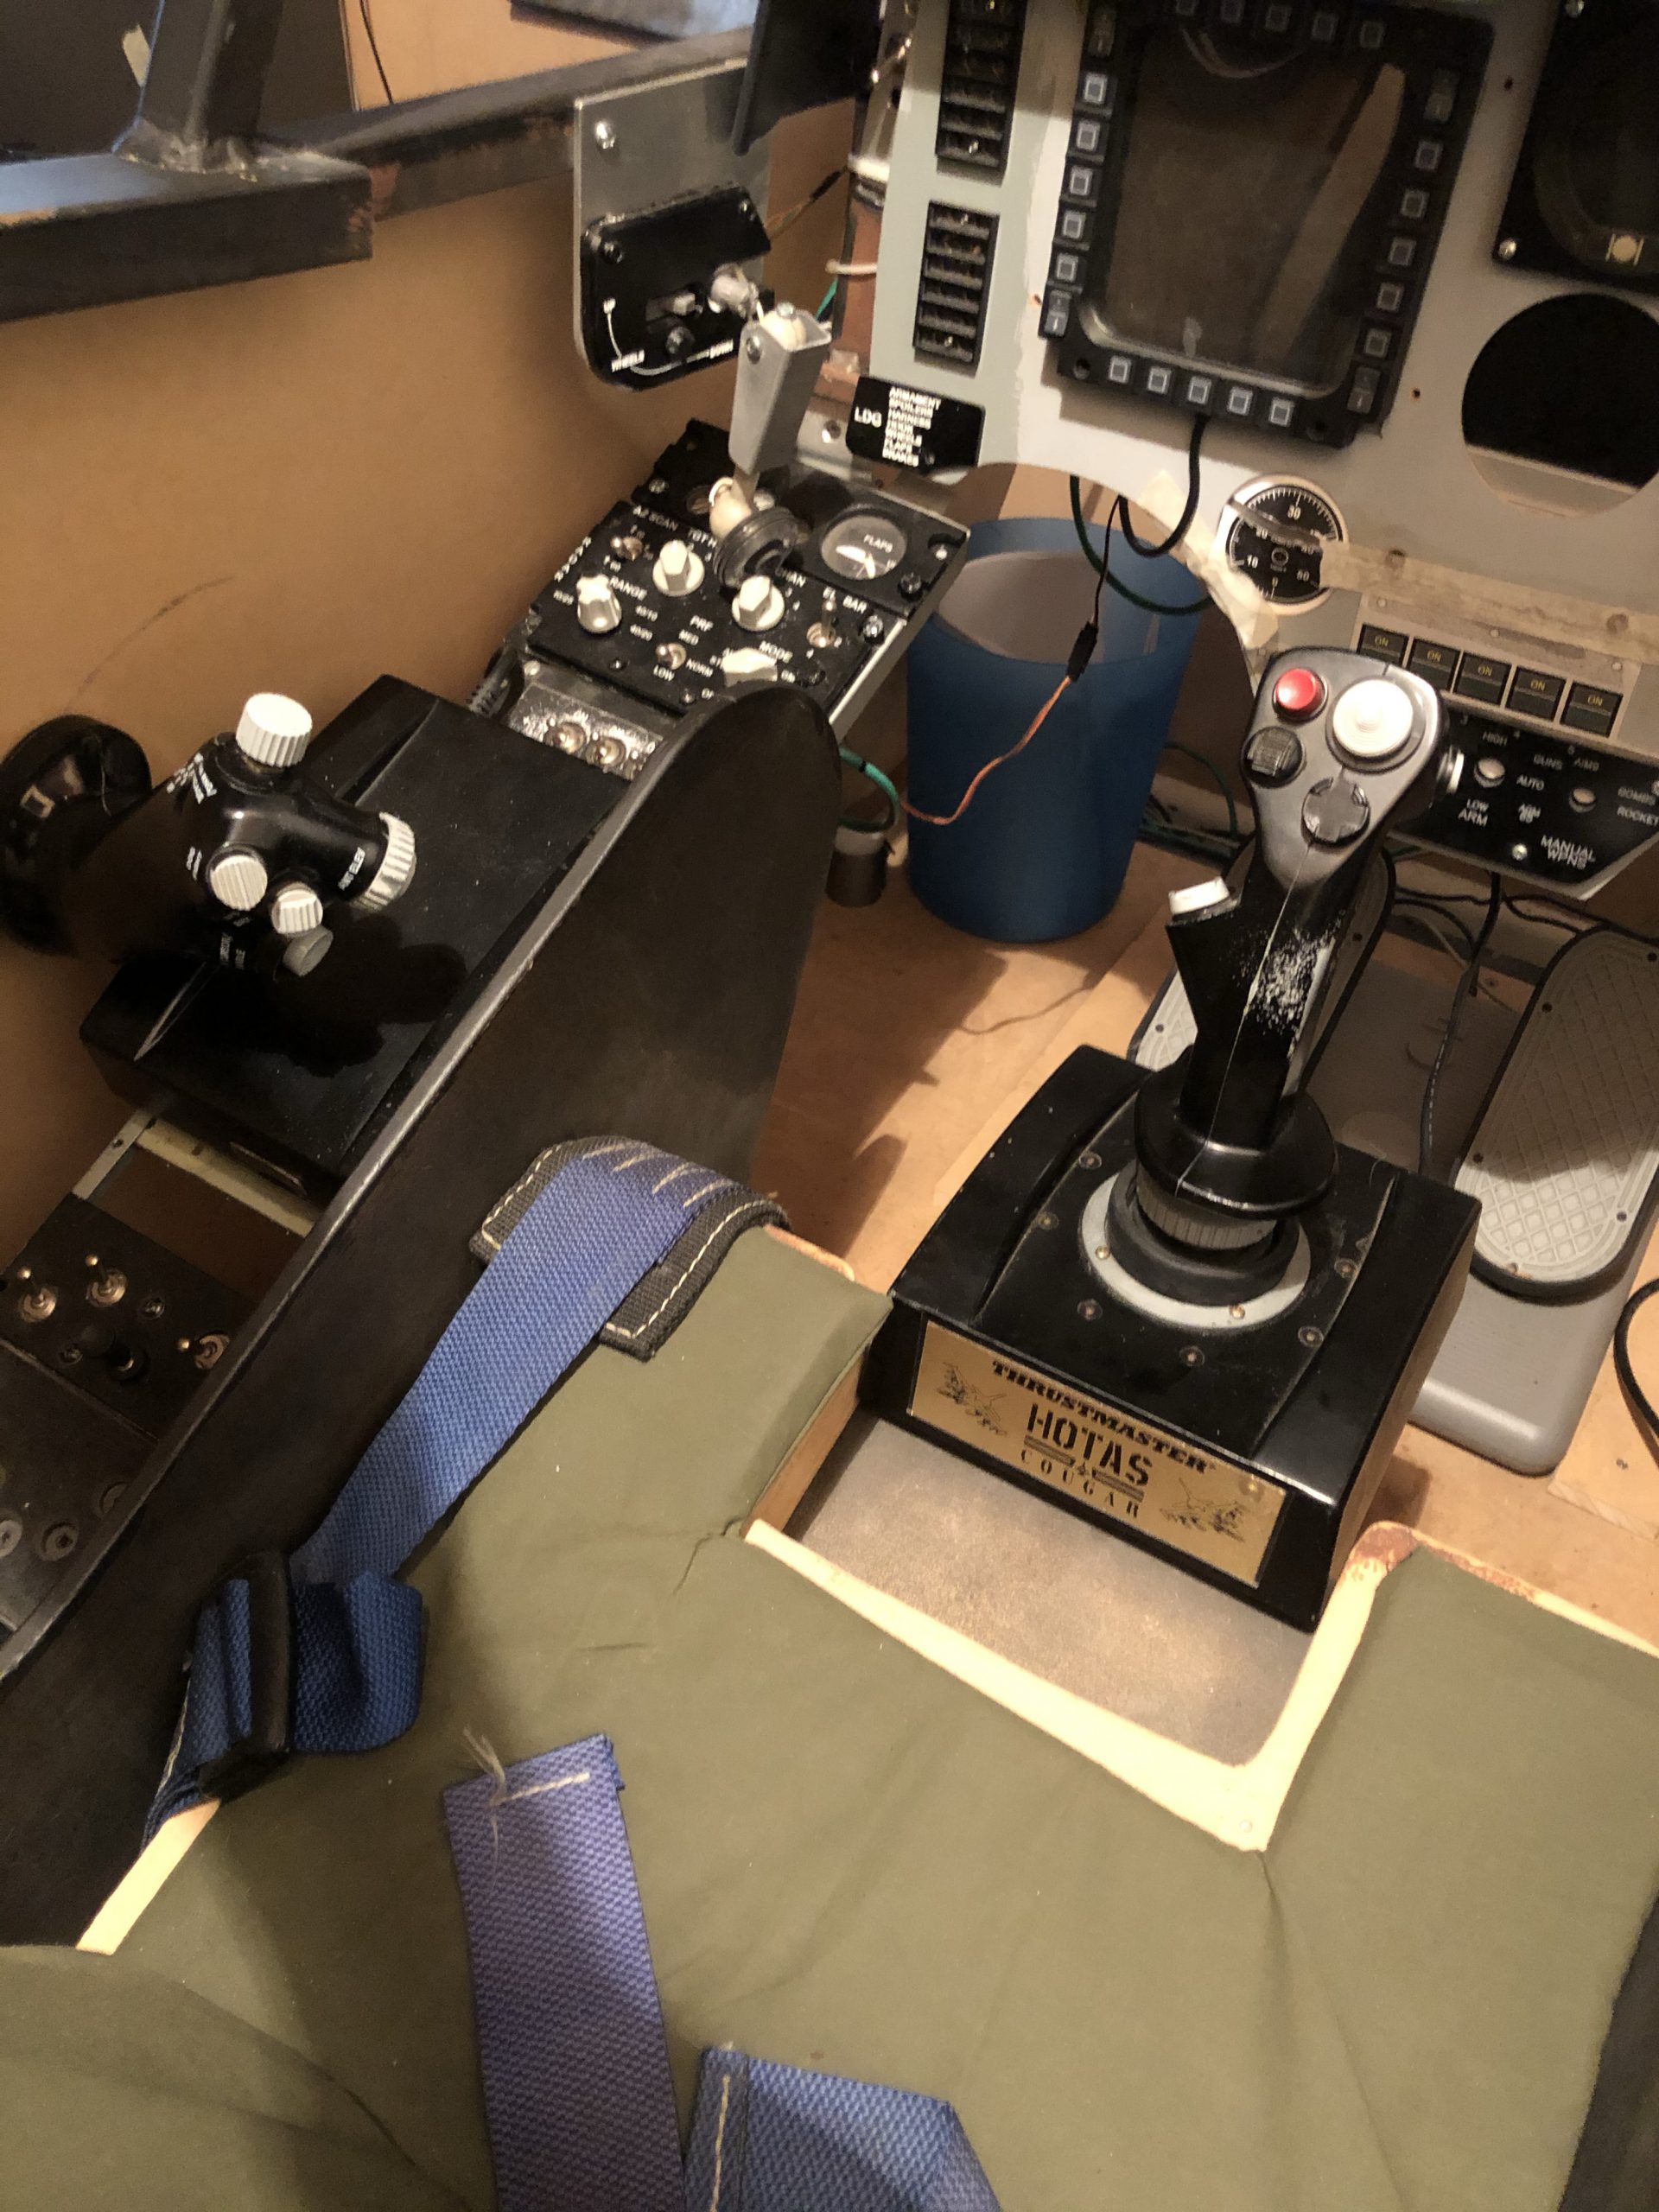
With the stick and throttle in place (albeit without a stick extension) and it looks ok. The size of the stick base does make access a little tight, so at some point I will have to build either a replacement housing for the gimbal, or a complete replication of the Skyhawk stick.
Now with the stick mount made, it was time to repair the previously broken gimbal.
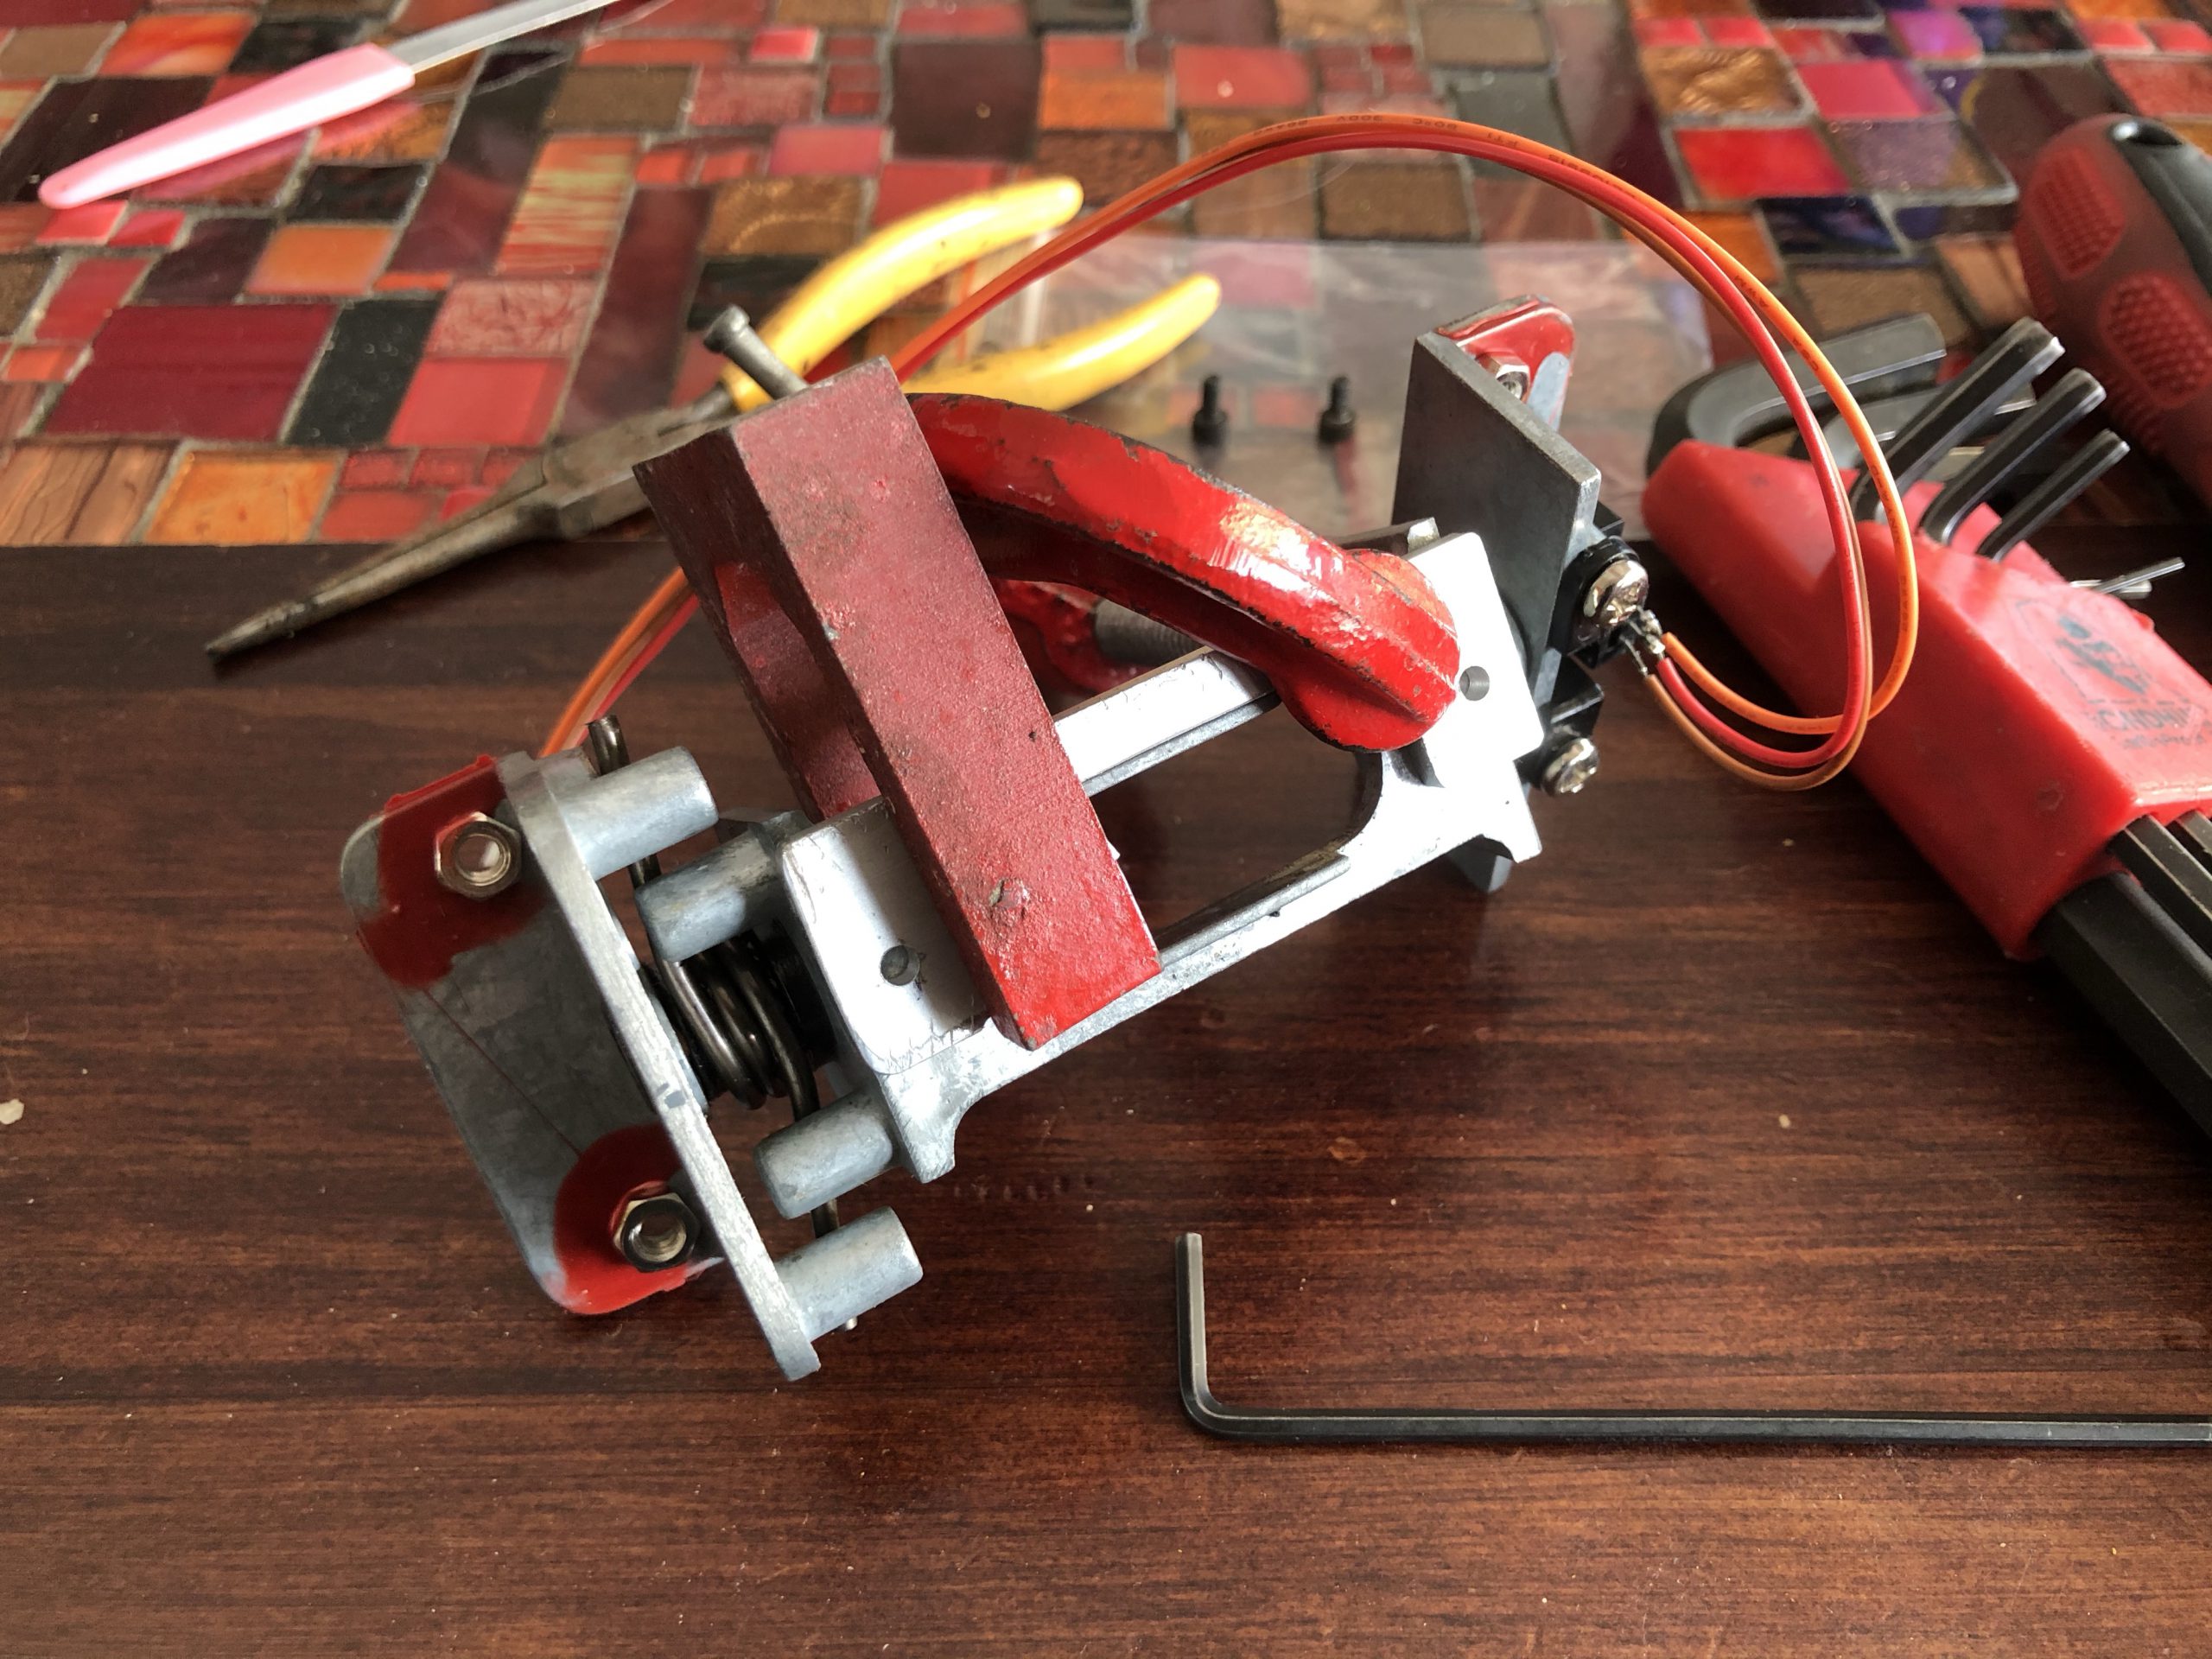
I made a ‘C’ shaped brace to hold the broken part back in place. Here you see the ‘splint’ clamped in place ready to be drilled.
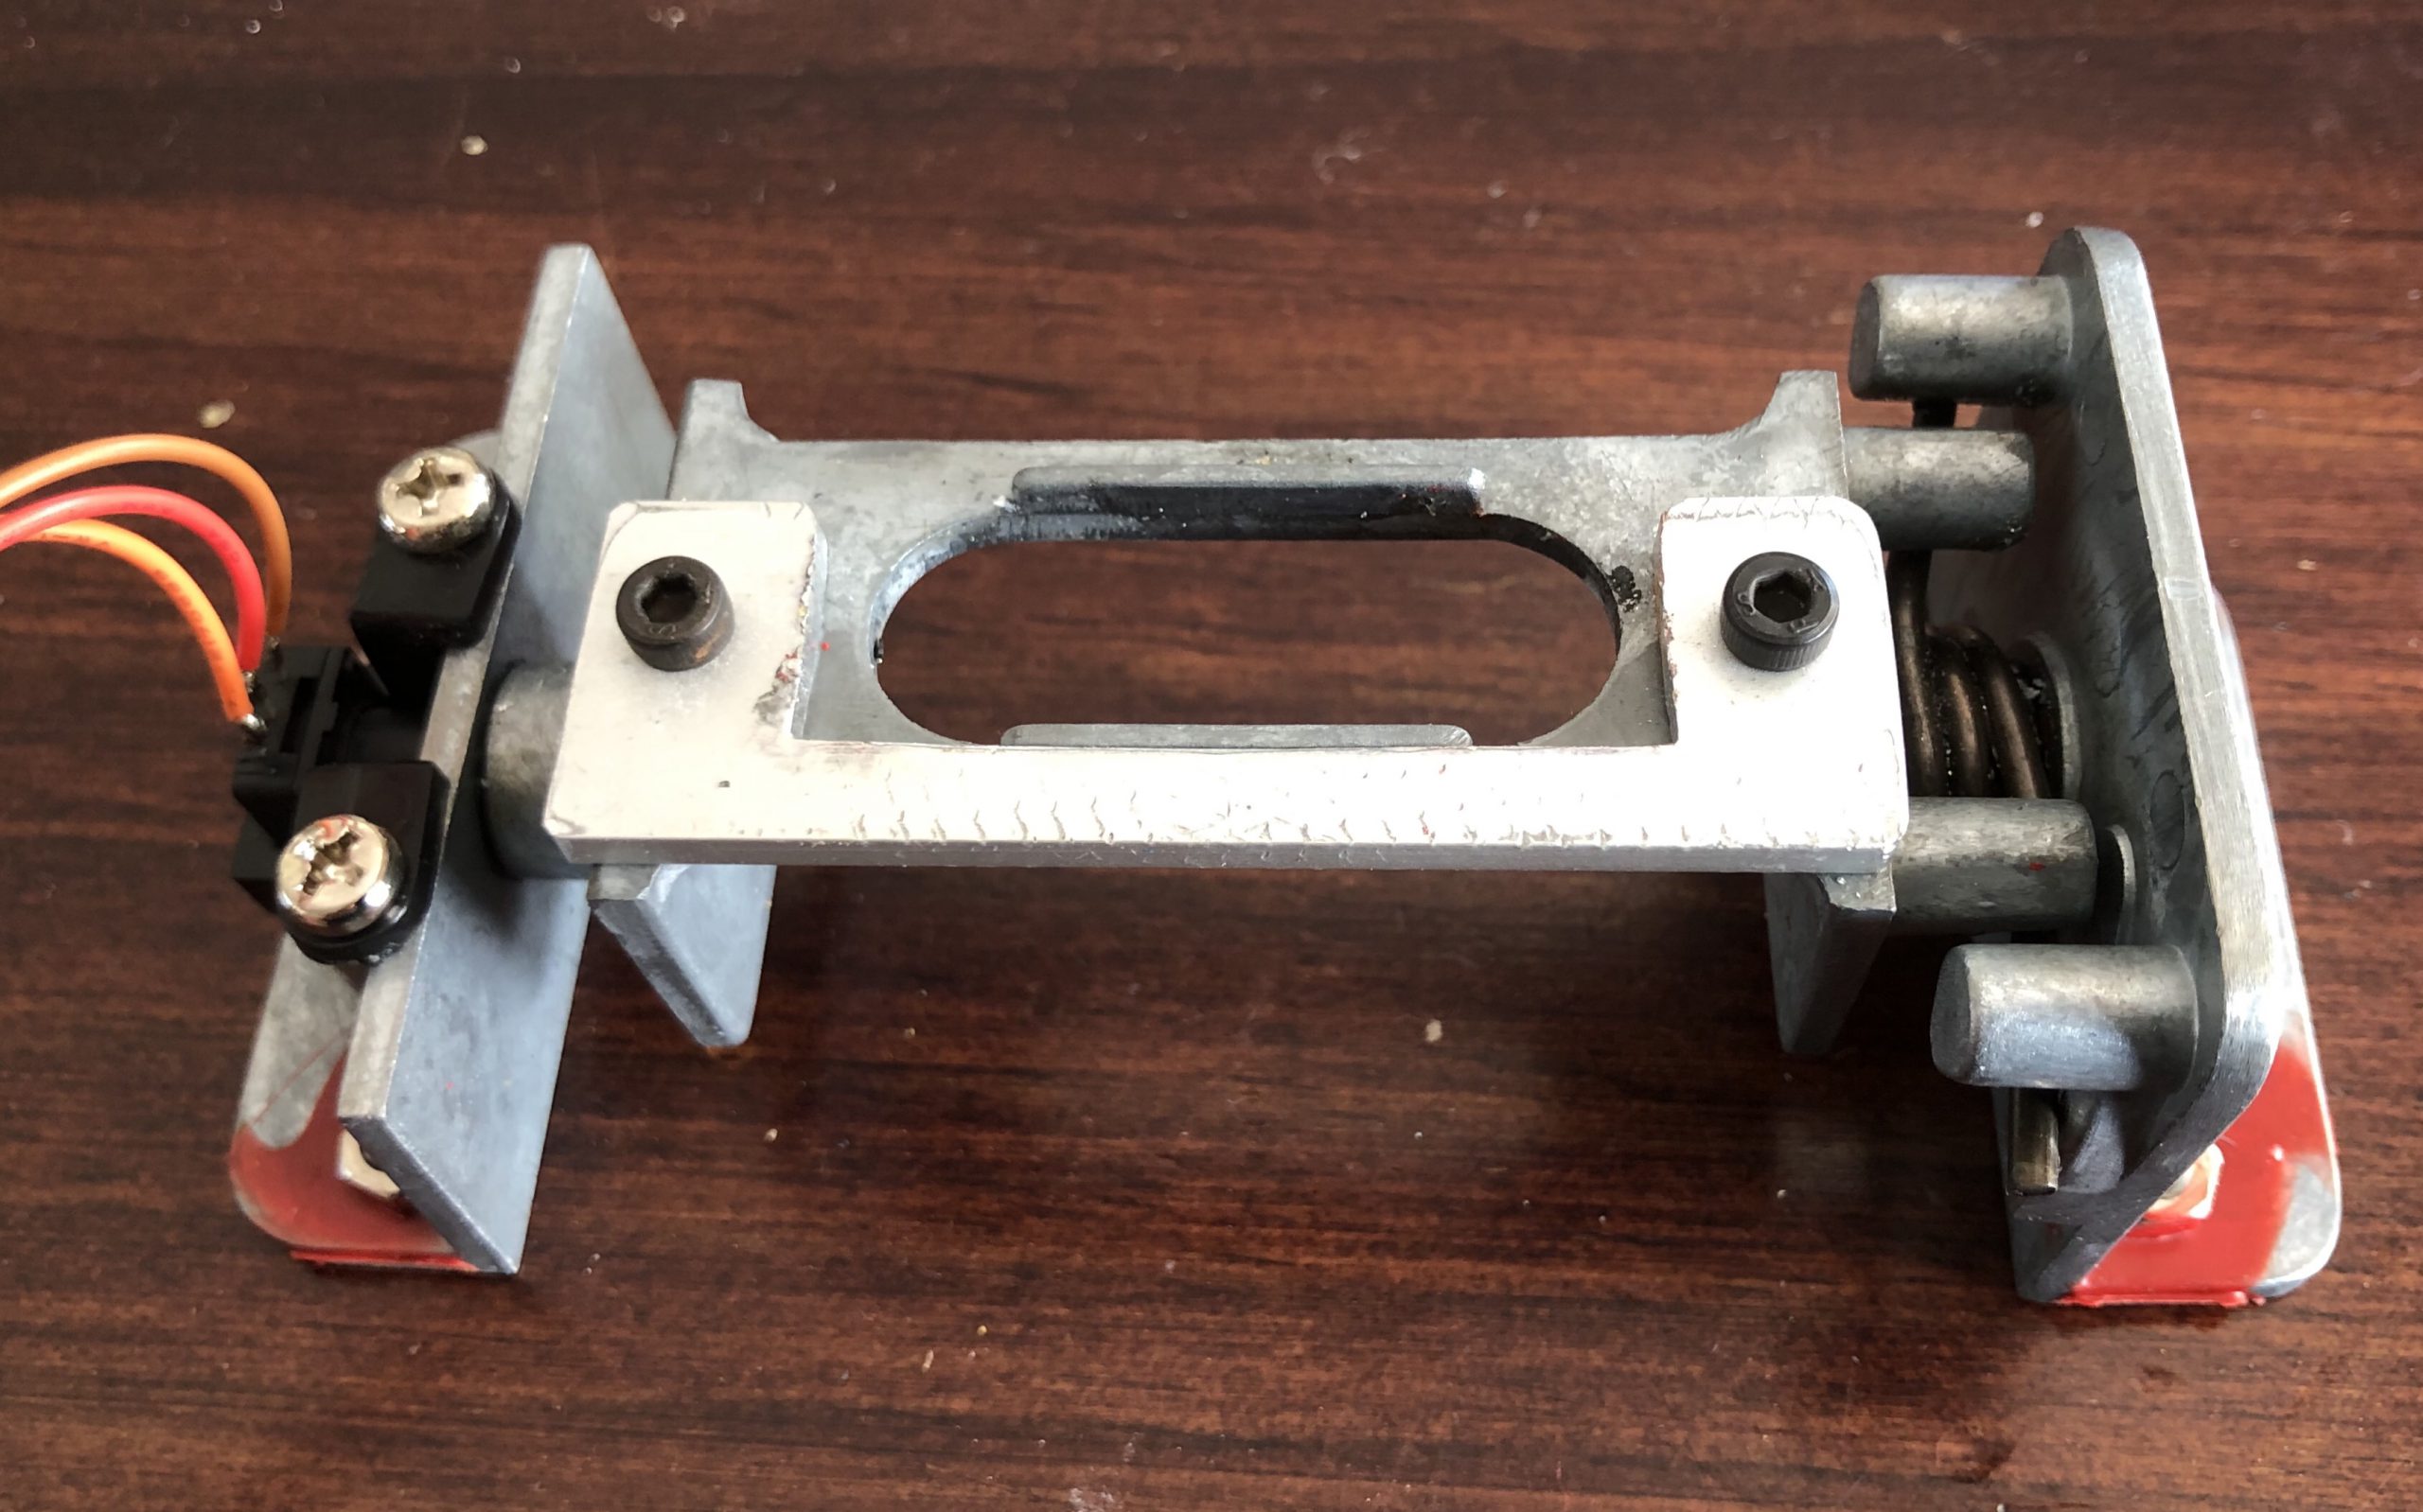
With the splint secured in place the roll gimbal is ready to reassemble into the base.
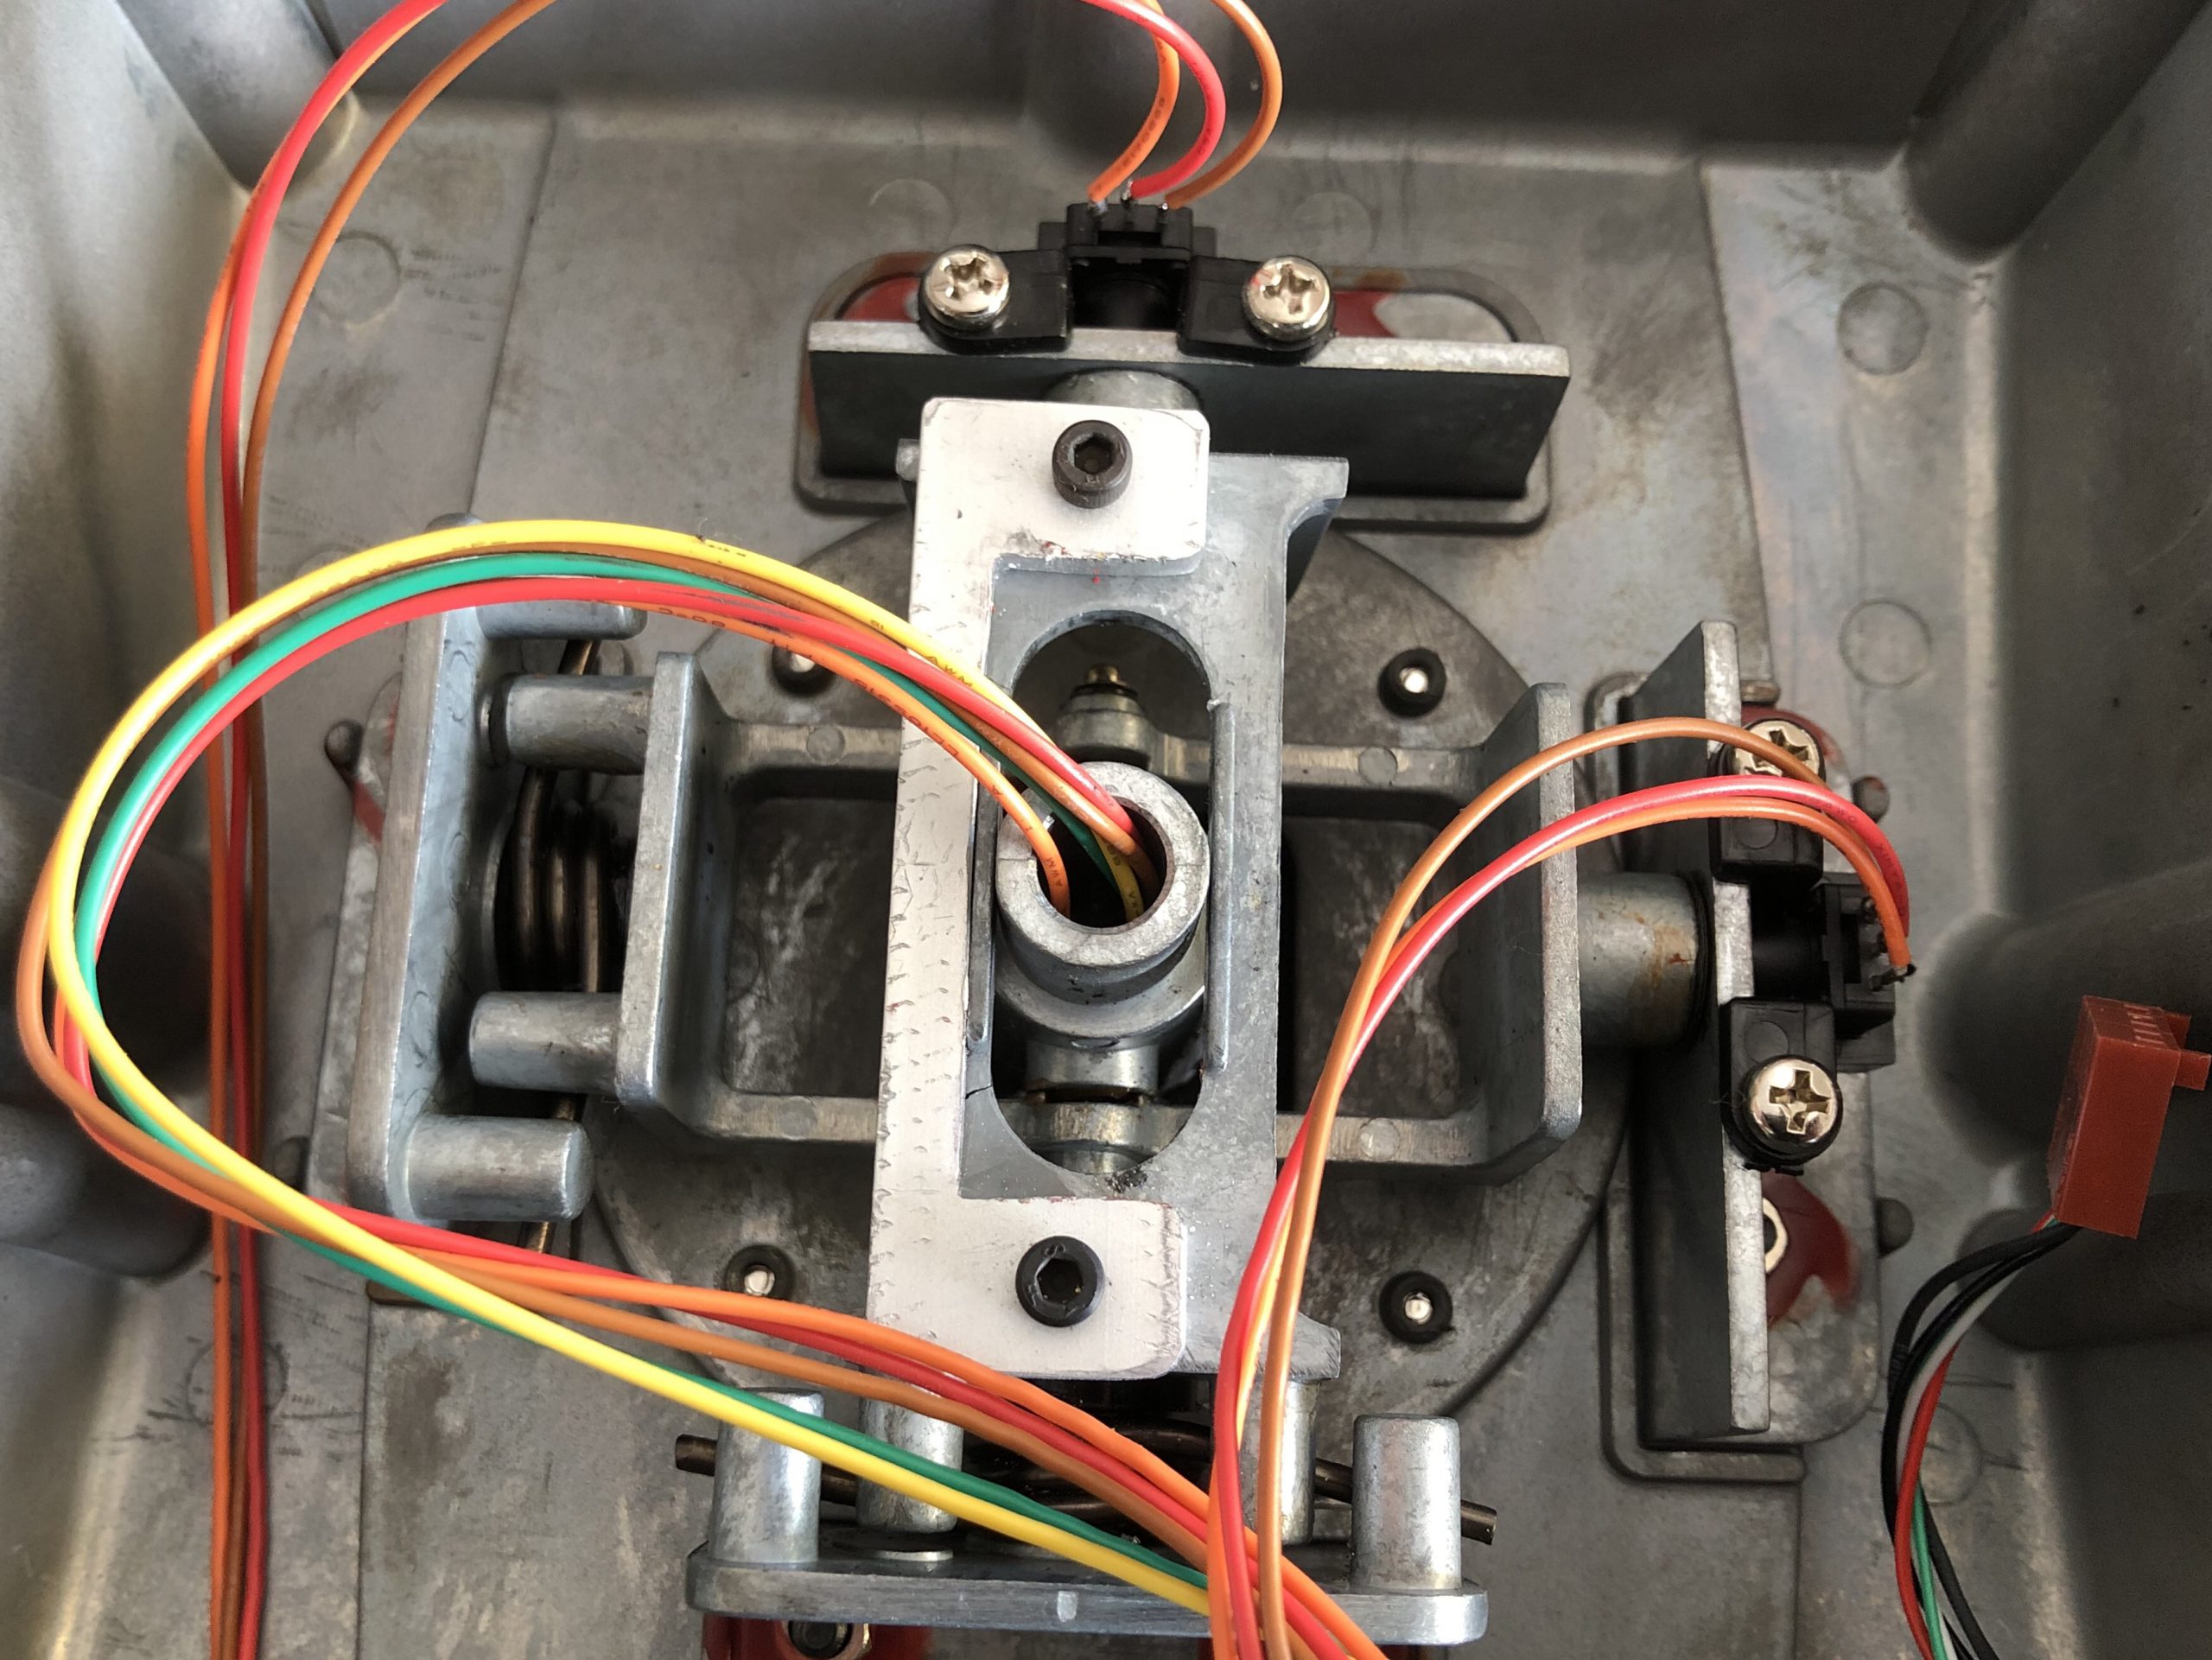
Returned to its place in the base. There is still some wear in the gimbal, so it will need replacing in due course.
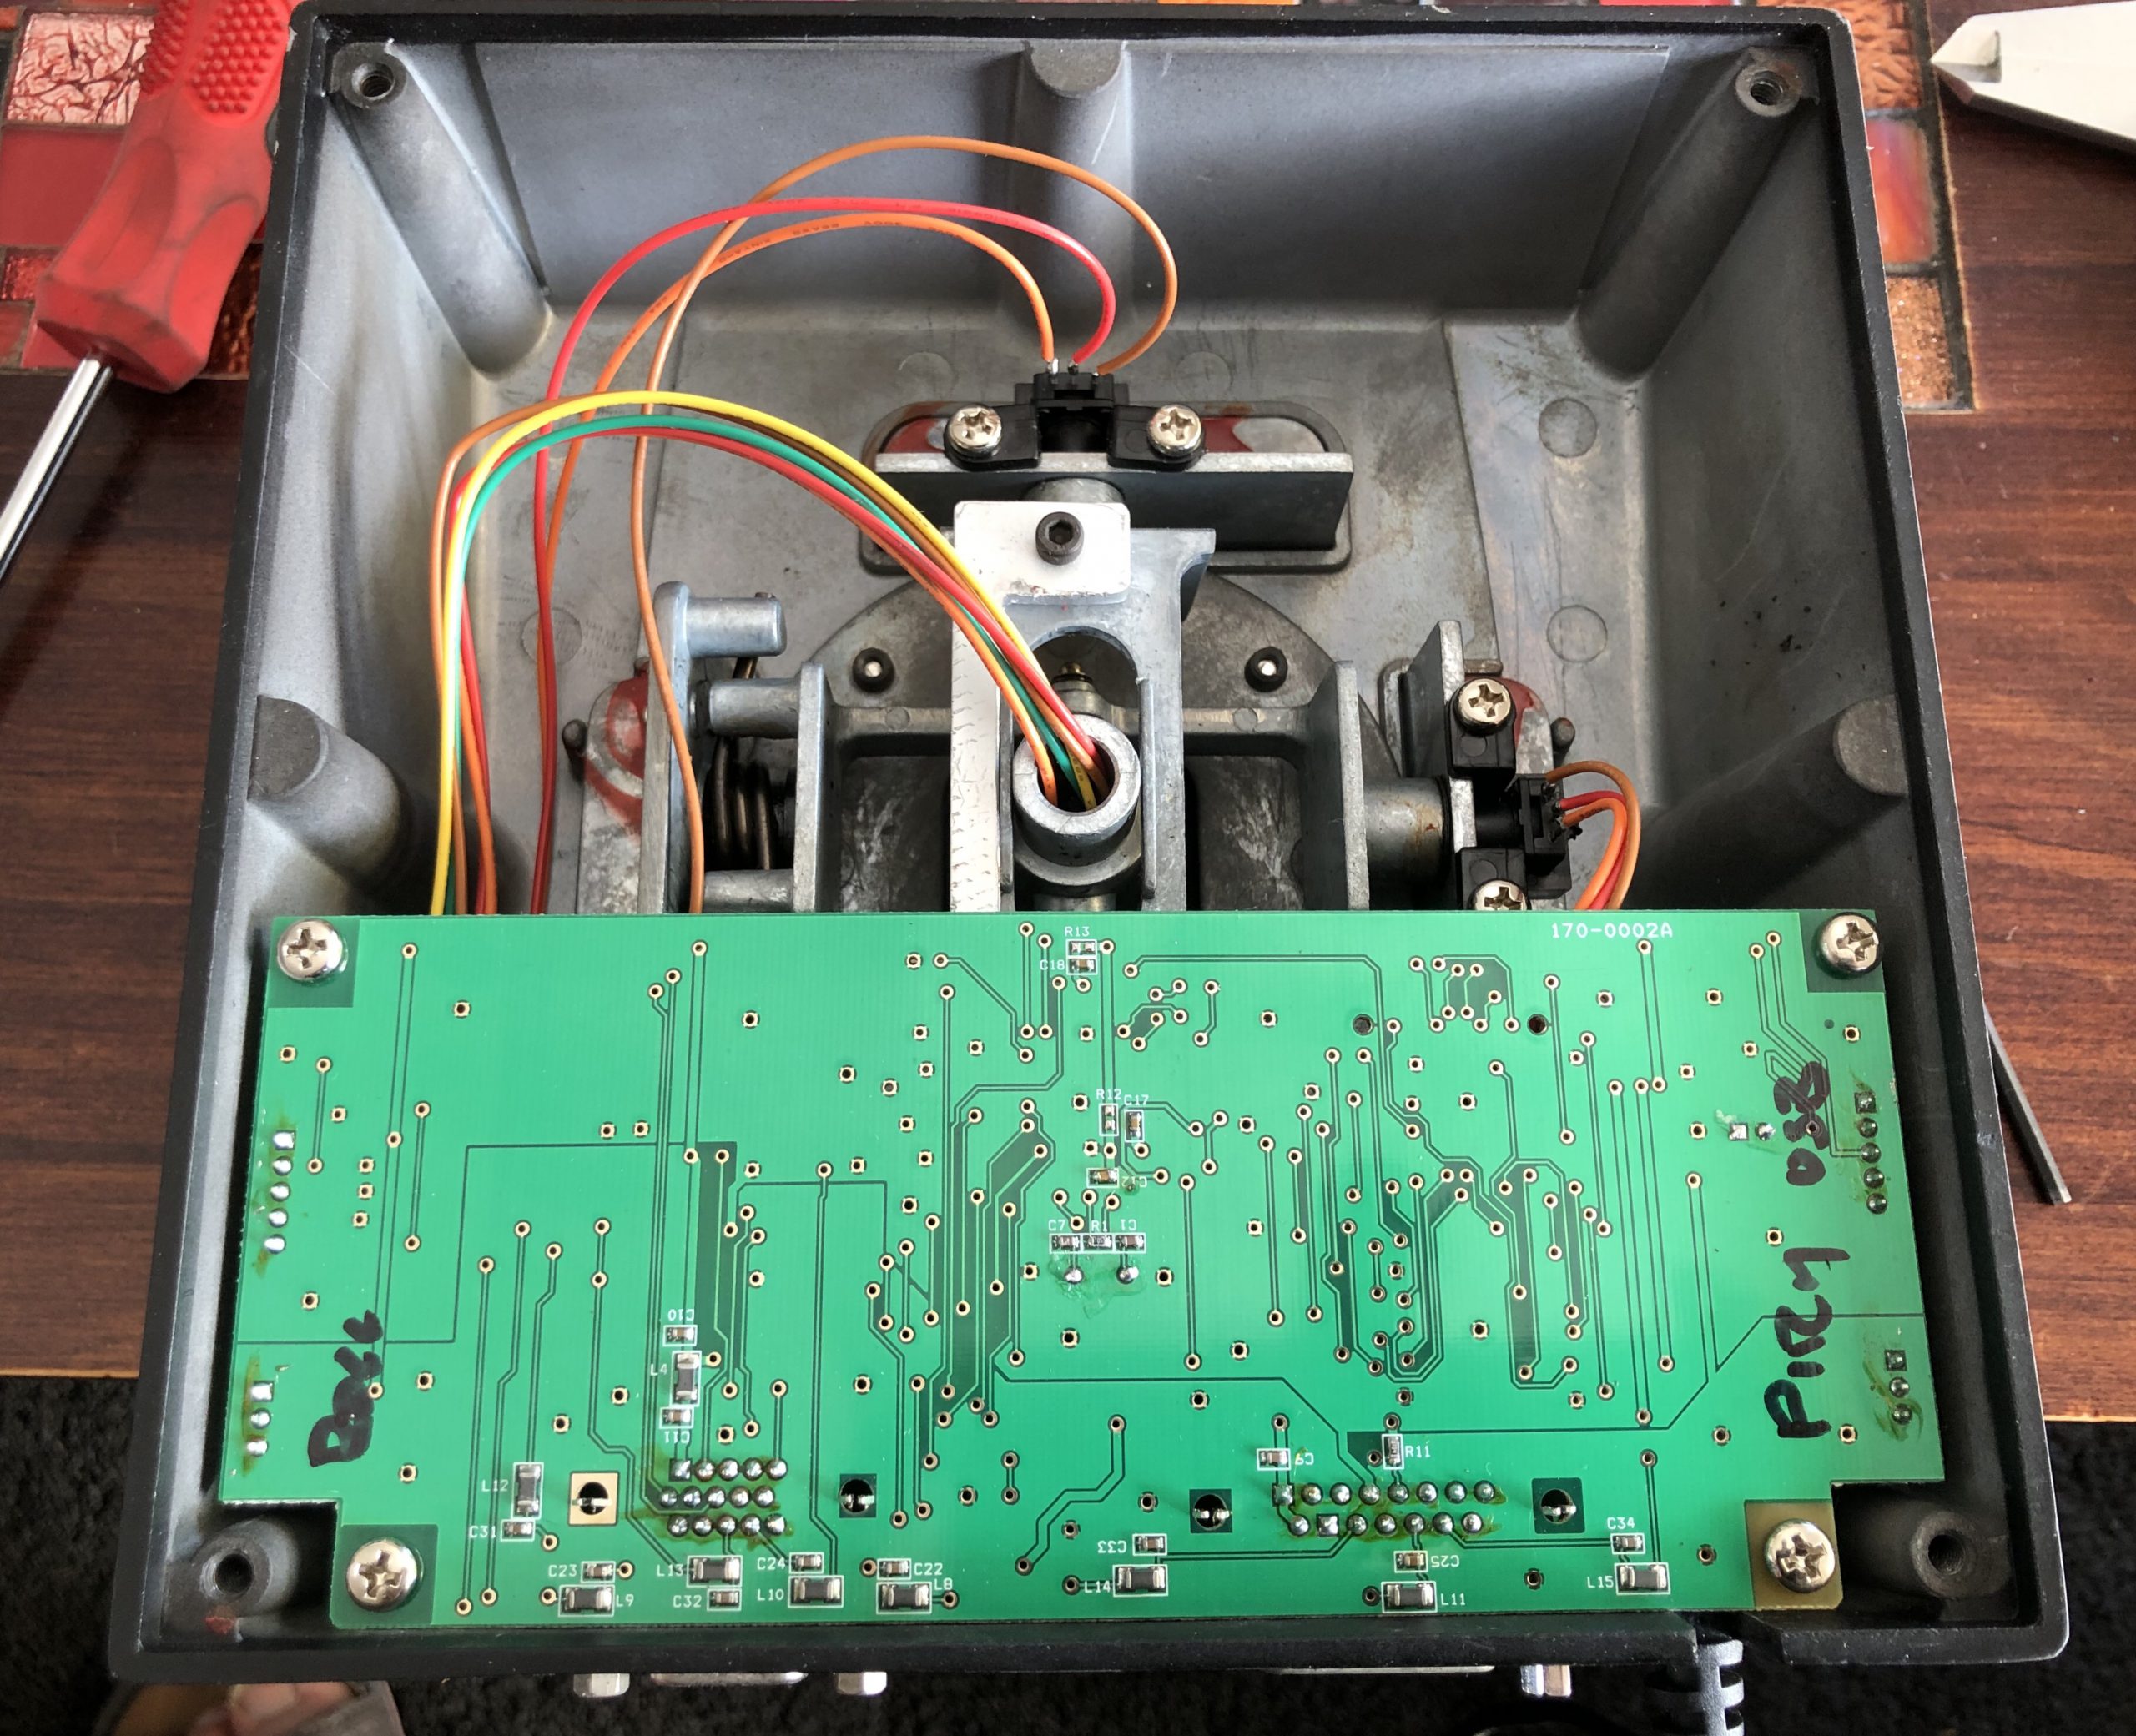
The complete stick assembled, ready to seal up and reinstall in the sim.