Spent a bit of time on my Gear and Hook panels today. Lots of sanding, filing and painting. The cool part is my idea for the gear safety to have an integrated sprint printed into it actually worked, and though the spring could be bigger, it does what it’s supposed to!
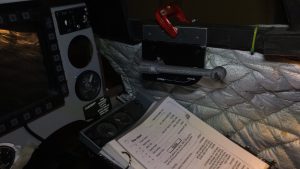
Temporarily clamped in place, once I have it wired and tested I’ll secure it properly. Final step is to finish cleaning up the printed lever and paint it the correct colour (which I need to research… I am guessing it’ll be the same colour as the hook lever)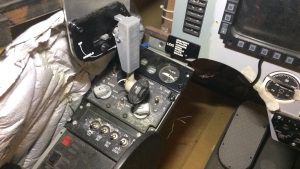
Gear lever in place. I’ve had this lever, which is the only actual Skyhawk part, for something like 16 years… it is nice to finally have it in the cockpit!
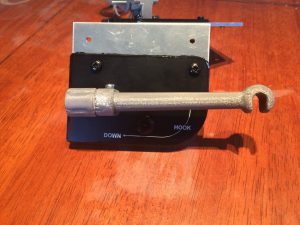
Hook panel, you can see the shiny wet paint around the edges. Once it dries it should blend in better. Really happy with the engraving and edge Chamfers on this panel. Using Fusion 360 CAM the engraving is awesome!
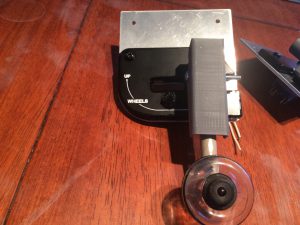
Gear panel almost complete. Just need to add a couple of M4 washers, and a Nyloc nut to the pivot bolt then paint the safety cover. Not shown in the photo is the over-ride switch which has been filed to fit and simply snaps in to place.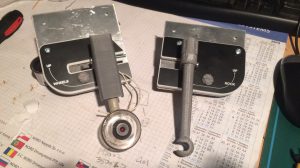
First test assembly. You can see the unpainted edges of the panels. This is a new technique I’m trying, where the material is painted and left to dry for a couple of days, then all the engraving is done first, followed by the milling and chamfering. Which is the opposite of how I’ve done it in the past. This way does mean that the engraving and milling are all done with the same reference point, so there is no issue with the engraving being “out-of registration”. Jut means painting the machined surfaces later. Next I want to experiment with laying masking tape over the panel after engraving, then machine through it. Hopefully this will pre-mask the areas to be painted.. worth an experiment!
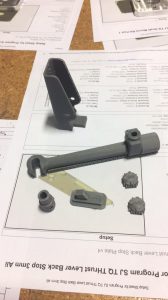
3D Printed parts straight off the printer. After cleaning up they just need drilling and tapping, then surface sanding and paint 🙂
